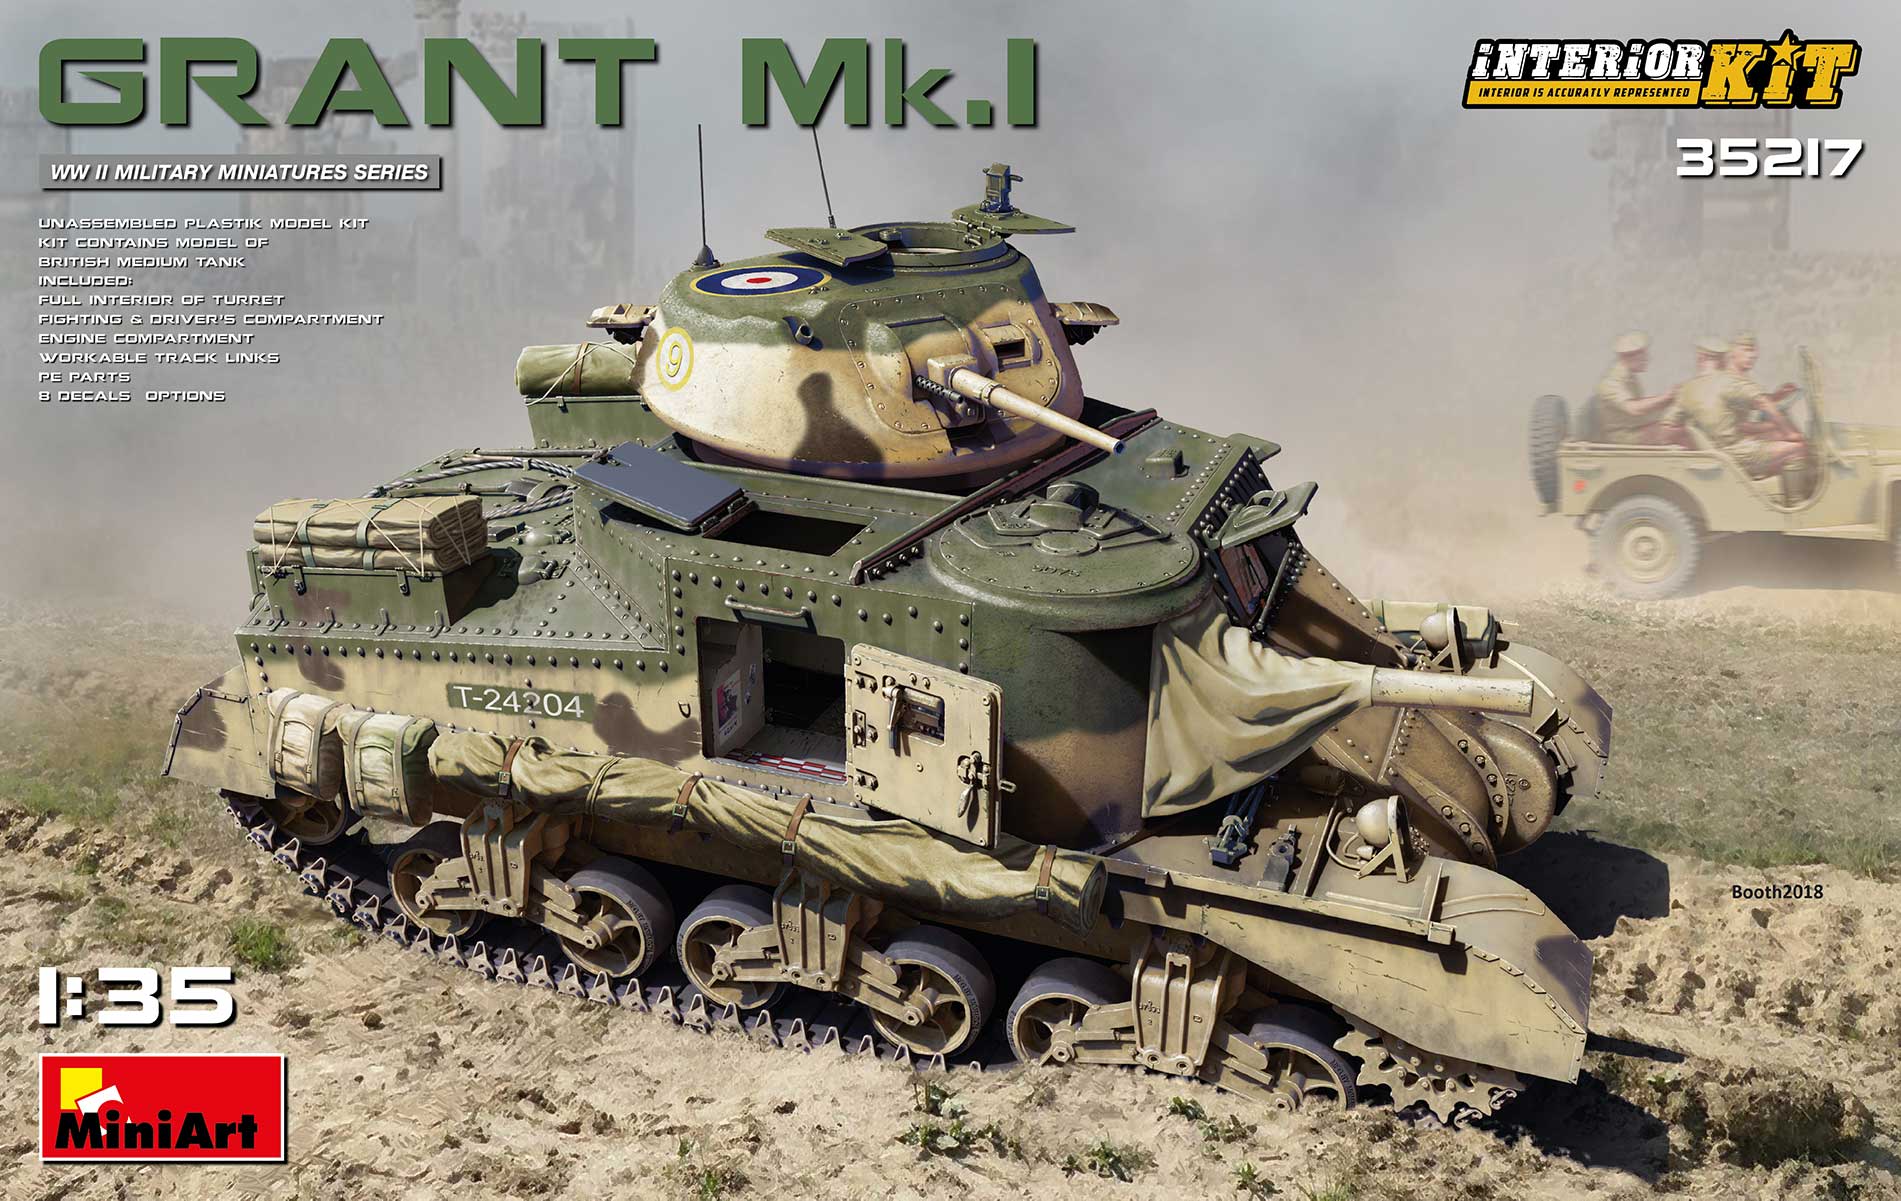
There are some interesting pages to check out for reference. There is a great walkaround with some interior photos, and an amazing blog building a sister of this model here. I also took a couple of photos of the tank in Bovingdon; you can see them in this link.
You can see the model itself on MiniArt’s page– useful photos of the parts and the instructions are also published there. (Unfortunately Armorama stopped publishing build reviews of MiniArt kits, and the photos are not exactly useful.)
The build is a typical Miniart one- you have to glue together hundreds and hundreds of tiny parts. I quite like these kits -mileage may vary. The only advice I can give is to consider it as a marathon, not a sprint.
The only thing I take an issue with is the tracks. The tracks took more time to build than the rest of the model. I have no idea why you could not have link-and-length option as well.

So. First part: interior. Due to the necessity of painting it is difficult to know how much you should be building in one go. I tried to get as much ready as possible before the painting step. This year was not kind to me as far as modelling goes – due to the eye operation and the renovation of our place I had no time to do much work. I mainly fiddled with the tracks during boring meetings (blessings of home office).
Then the countless layers of white. This time I did not use my usual method; I tried AK’s third generation white. Well, the coverage is not adequate.
The photo is not very good – took it under a single light at night as I was pressed for time. And right now it makes no difference, really – just a little visualization of this year’s progress. (Christ…)
So next steps: painting the details, weathering the interior, assembly, and then getting on with the rest of the build. Timewise I think if you are finished the tracks, you are at halfway of the build… I will have to figure out how to display the interior -although the tank has huge doors, so it may be not necessary to cut anything.


Great to see you work on a piece of 1/35 armour again!
As for M3 and M4 tracks in general: totally recognise your experiences with them. I built or tried to build quite a lot of them and each time they annoyed me to the max. Now l am only usung Friul metal tracks from your fellow countrymen. They at least give you one-piece links and an easy way to connect them and they give the best sag too.
Q: why did Armorama stop publishing on Miniart kits?
LikeLike
Thank you 🙂 It is nice to be working on models again – now I have two sets of glasses, a renovated apartment, and some time at night I can spend on painting and building. Back in business…
So Fruil is better? I was avoiding them so far because of their price and because they seemed finicky (the ones I saw…) but man, I have a RFM Sherman (even worse tracks) in store, so it would be a worthy investment if I save hours of pain with them.
LikeLike
I believe l have the same RFM kit on my shelves😏 so l get what you mean.
For that one you need to replace the tracks if you want to build a WW II version: T66 type instead of the supplied T80s. Those are the Korean war kind. I am going to use the metal MasterClub tracks but they are hard to get these days being Russian made.
Speaking of marathons: still working on the RFM Jagdpanther. Slooooow progress but at least very easy tracks..
LikeLike
Yeah, the RFM panther has great indi tracks… how do you find the interior of the hull? Do the PE parts and torsion bars have fit issues just as the Panther, or were they fixed?
LikeLike